When it comes to installing floor and wall tiles, precision is key. A best laser level is an invaluable tool that ensures tiles are laid perfectly straight and level, preventing costly mistakes and ensuring a professional finish. In this article, we will explore the best laser levels for tile installation, focusing on features, benefits, and recommendations, while highlighting the offerings from Nxtools, a leading industrial and trading company based in Yucheng, Shangqiu.
Understanding Laser Levels
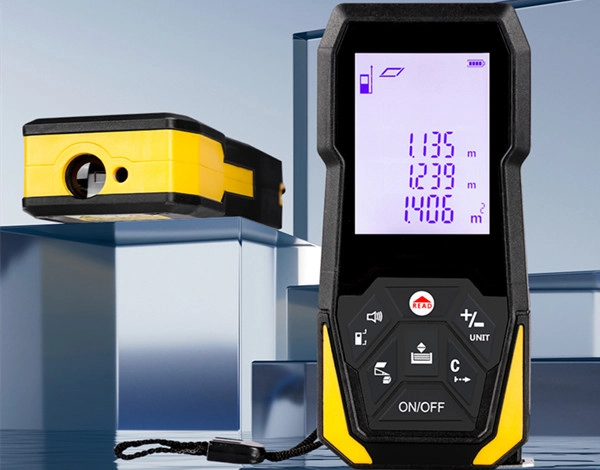
Laser levels project a beam of light that creates a straight line across surfaces. This technology is essential for various tasks, including tile installation, as it helps achieve accurate alignment and leveling.
Types of Laser Levels:
- Line Laser Levels: These project a straight line both horizontally and vertically. Ideal for tiling walls and floors.
- Rotary Laser Levels: These emit a rotating beam of light that can cover large areas. Suitable for outdoor projects or large indoor spaces.
- Dot Laser Levels: These project dots onto surfaces and are useful for transferring points from one surface to another.
Why Use a Laser Level for Tile Installation?
Using a laser level offers several advantages over traditional leveling methods:
- Increased Accuracy: Laser levels provide precise alignment that is difficult to achieve with a tape measure alone.
- Time Efficiency: Setting up a laser level is quick and easy, allowing you to start your tiling project without delays.
- Versatility: Suitable for various applications beyond tiling, including framing, drywall installation, and more.
Key Features to Look For in a Laser Level
When selecting the best laser level for floor and wall tile installation, consider the following features:
- Self-Leveling Capability: This feature allows the laser to automatically adjust itself to ensure accuracy.
- Range: Depending on the size of your project, choose a laser level with an adequate range (typically between 30 to 100 feet).
- Visibility: Look for models with bright lasers (green lasers are often more visible than red) to ensure clear lines in various lighting conditions.
- Durability: Choose models that are built to withstand job site conditions. Many come with protective casings or are rated for water and dust resistance.
Recommended Laser Levels for Tile Installation
Here are some of the best laser levels available on the market suitable for floor and wall tile installation:
1. Nxtools Self-Leveling Cross Line Laser Level
- Type: Line laser
- Range: Up to 500M
- Features: Self-leveling, 2,000 hours of live work.
- Durability: IP54 rated for dust and water resistance.
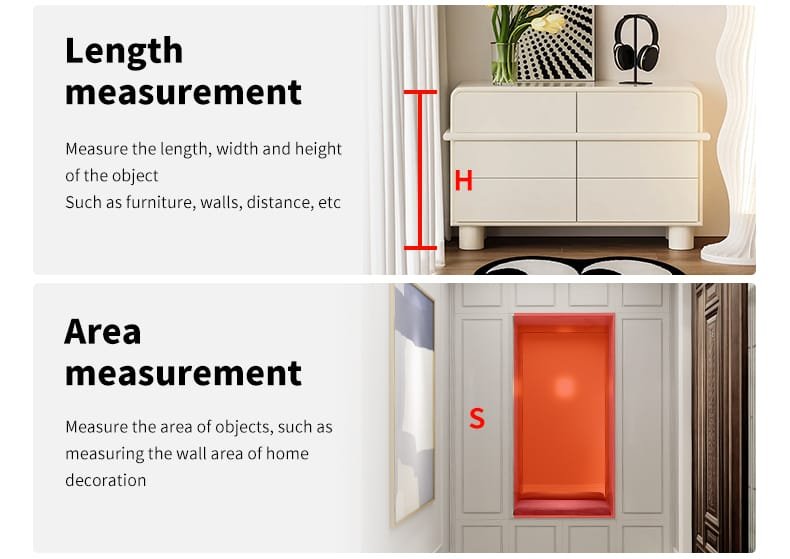
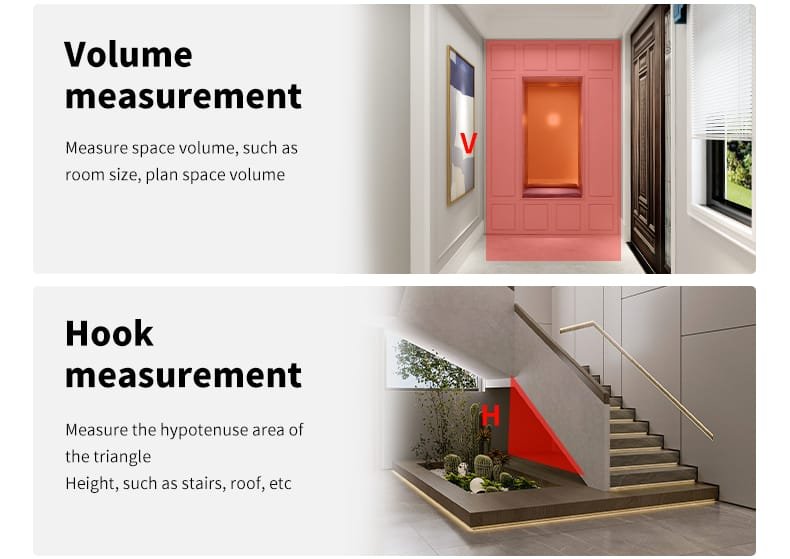
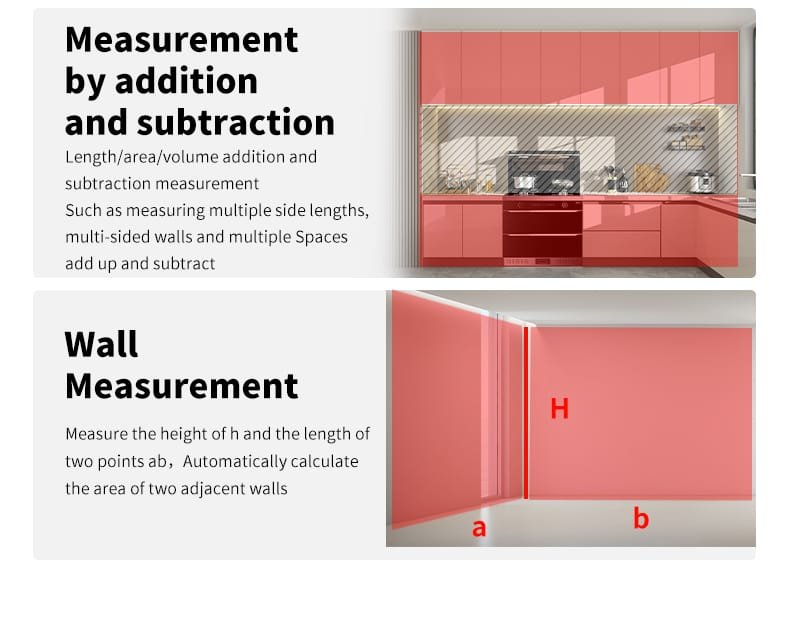
The Nxtools model is designed specifically for tile installers. Its bright beam ensures visibility even in well-lit environments, making it easier to align tiles accurately.
2. Nxtools 360° horizontal rotation of rotary laser scanner
- Type: Rotary Laser Scanner
- Range: 500M
- Features: Self-leveling, includes mounting bracket.
- Durability: IP54 rated for dust and water resistance.
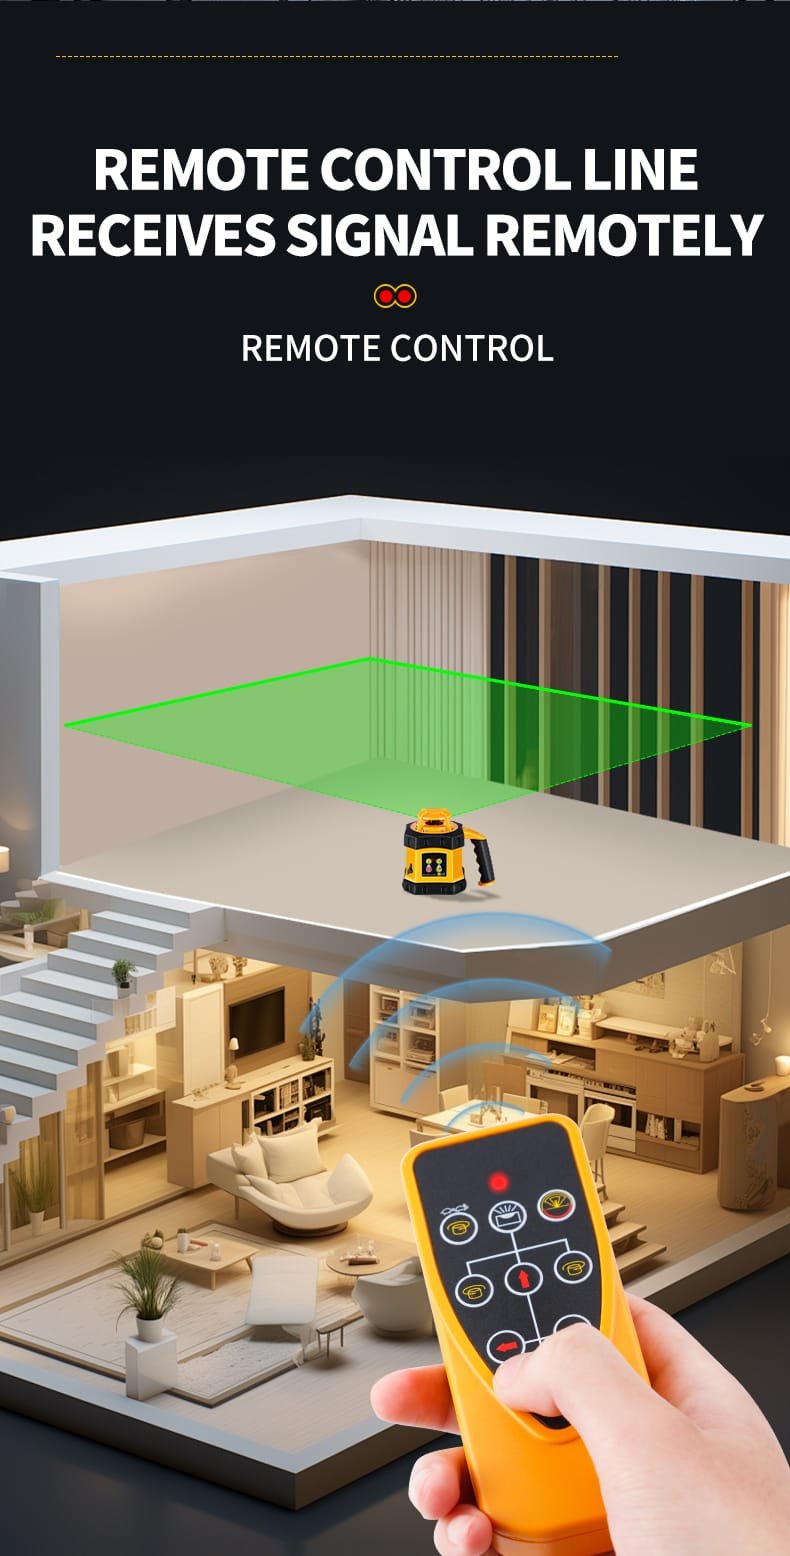
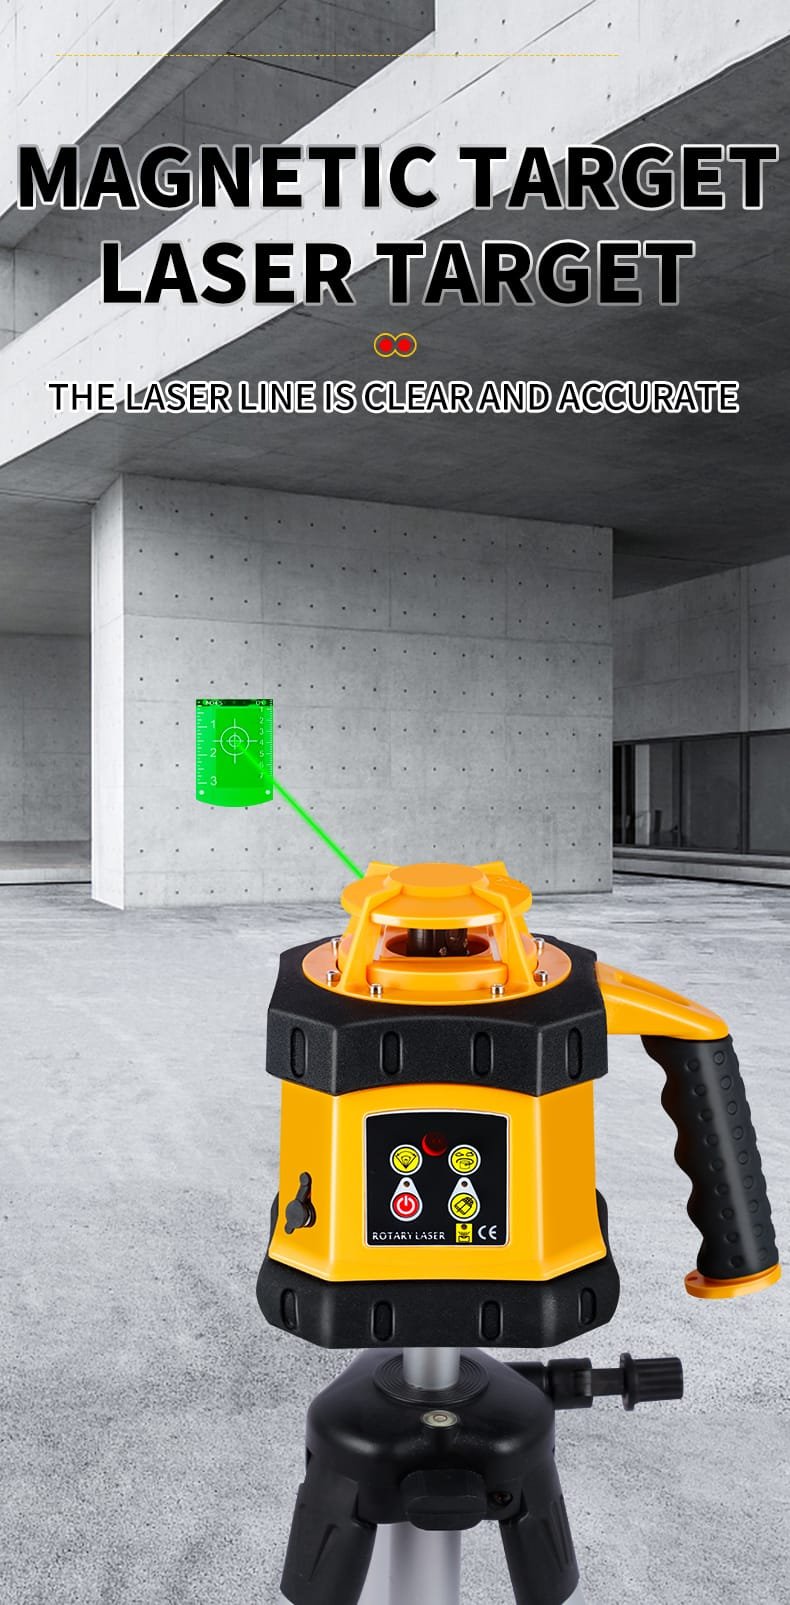
Nxtools’s rotary laser scanner is known for its reliability and ease of use. It features a simple one-button operation that makes it accessible even for beginners.
How to Use a Laser Level for Tile Installation
Using a laser level effectively can significantly enhance your tile installation process. Here’s how:
1. Set Up the Laser Level:
- Place the laser level on a stable surface or mount it on a tripod at the desired height.
- Ensure it is positioned where you can see the projected line clearly across your work area.
2. Power On:
- Turn on the device and allow it to self-level if applicable.
- Check that the laser beam is visible across your workspace.
3. Project the Beam:
- Aim the laser at your starting point (e.g., the corner of the room).
- The projected beam will serve as your reference line for laying tiles.
4. Align Your Tiles:
- Begin laying tiles along the projected line.
- Use spacers as needed to maintain consistent gaps between tiles.
5. Check Alignment Regularly:
- Periodically check that tiles remain aligned with the projected line as you work.
- Make adjustments if necessary to ensure straight lines throughout your installation.
Common Mistakes When Using a Laser Level
Even with advanced technology, mistakes can happen during tile installation. Here are some common pitfalls to avoid:
- Not Checking Calibration: Always ensure your laser level is calibrated before starting your project. An uncalibrated tool can lead to misaligned tiles.
- Ignoring Surface Conditions: Ensure that walls or floors are clean and free from debris before using the laser level. Dirt can obstruct visibility or affect alignment.
- Failing to Use Spacers: Consistent spacing between tiles is crucial for achieving an even finish. Always use spacers as guides while laying tiles.
Maintenance Tips for Your Laser Level
To ensure longevity and optimal performance of your laser level:
- Keep It Clean: Regularly wipe down the lens and exterior with a soft cloth to prevent dust buildup.
- Store Properly: When not in use, store your laser level in its protective case to prevent damage from impacts or environmental factors.
- Check Batteries Regularly: If using battery-operated models, check battery levels frequently to avoid interruptions during use.
Frequently Asked Questions (FAQs)
1. Can I use any laser level for tile installation?
While any laser level can be used, those specifically designed for construction or tiling will offer better accuracy and features suited for these tasks.
2. What’s the difference between red and green lasers?
Green lasers are generally brighter and more visible than red lasers, especially in bright conditions, making them preferable for outdoor or well-lit indoor projects.
3. How do I know if my laser level is self-leveling?
Most self-leveling models will indicate their status through lights or sounds when they are properly leveled within their operational range.
4. Is it necessary to use a tripod with my laser level?
Using a tripod can provide stability and height adjustment options, making it easier to achieve accurate projections over larger areas.
5. What should I do if my laser level isn’t working properly?
First, check if it’s calibrated correctly; if issues persist, consult the manufacturer’s troubleshooting guide or consider professional servicing.
Conclusion
Choosing the best laser level for floor and wall tile installation can significantly impact the quality of your work. With options like those from Nxtools—known as a reputable *laser level factory*—you can find tools that enhance precision while being durable enough for job site conditions. By understanding how to effectively use these tools and avoiding common mistakes, you’ll be well on your way to achieving professional results in your tiling projects.

